
Apollo Group TV - Venmo Guide
Need a different guide? Click hereStep 1
Before starting, make sure your Venmo account identity is verified (Venmo requires verification for cryptocurrency transactions) and that you have a linked debit card or bank account for purchase funding.
Step 2
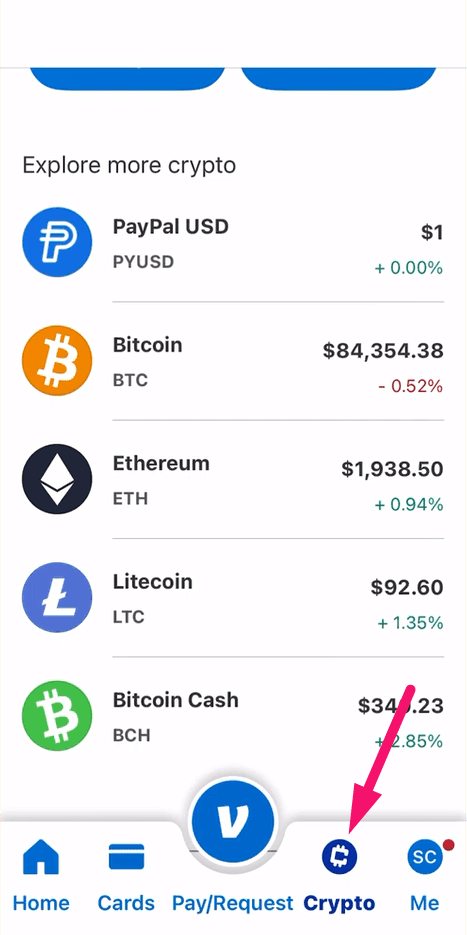
Open Venmo and tap on “Crypto” in the main menu or Hub.
Step 3
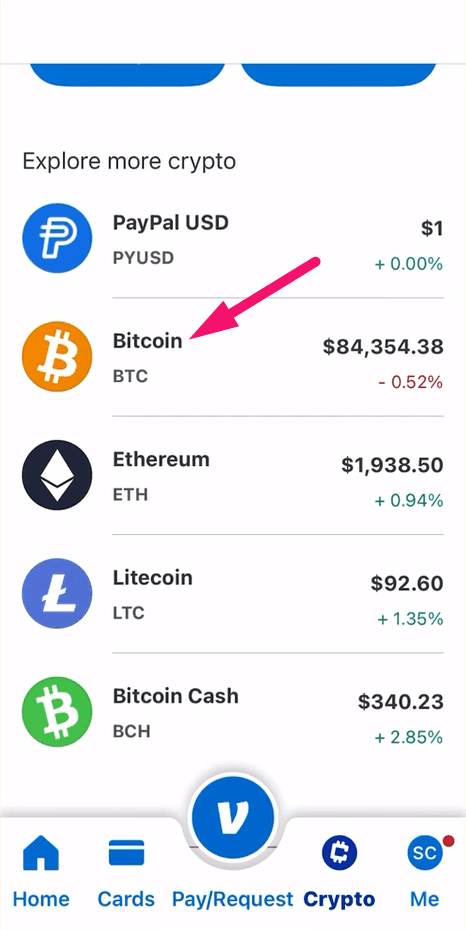
Select “Bitcoin” from the list of cryptocurrencies.
Step 4
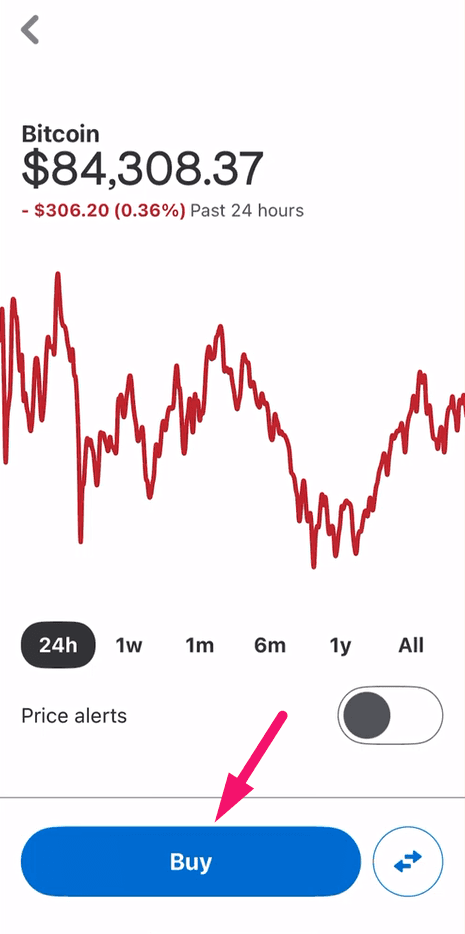
Tap the “Buy” button.
Step 5
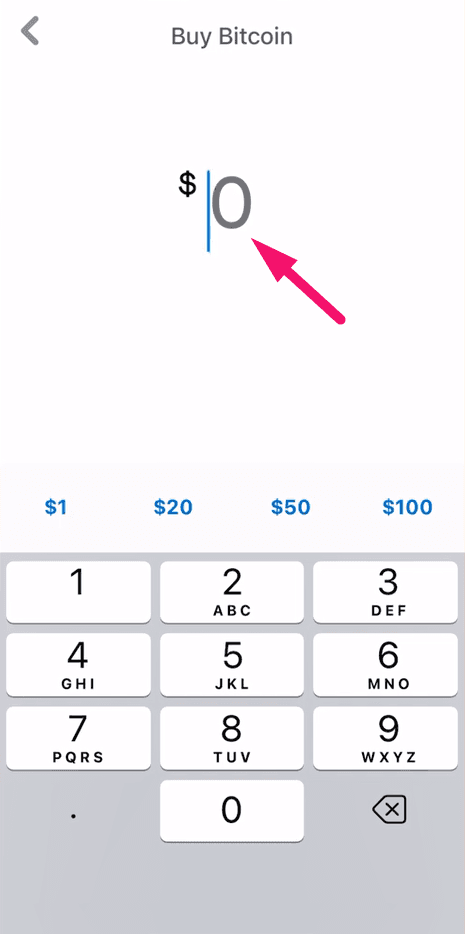
Enter the purchase amount of your chosen subscription plan, then tap “Next”.
NOTE: A network/transaction fee of around $5 USD may be added depending on the volume.
Step 6
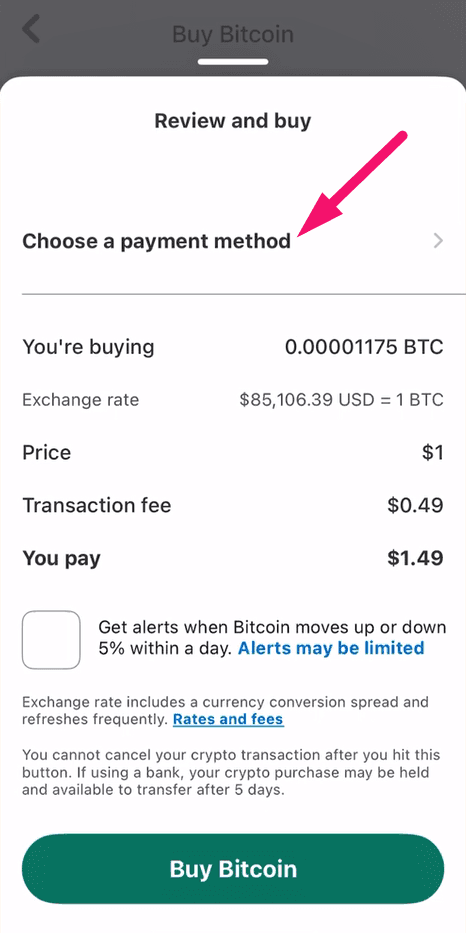
Tap on “Choose a payment method”.
Step 7
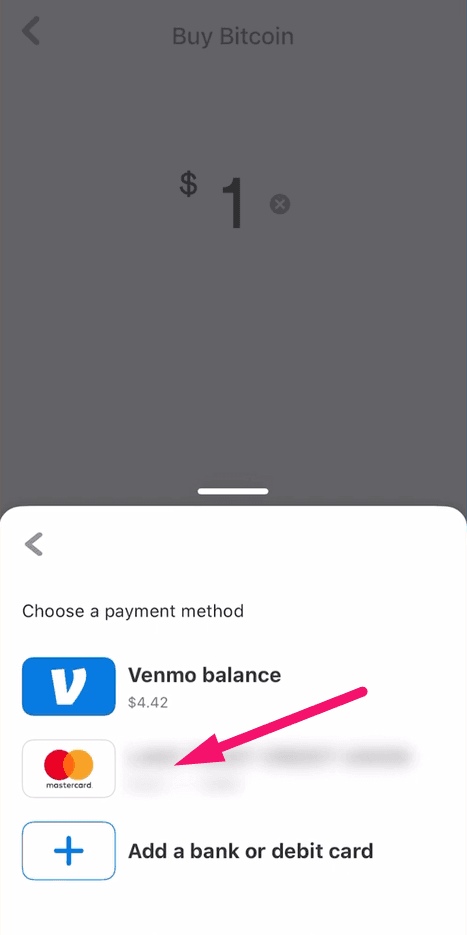
Select your existing card/account, or link a new one.
Step 8
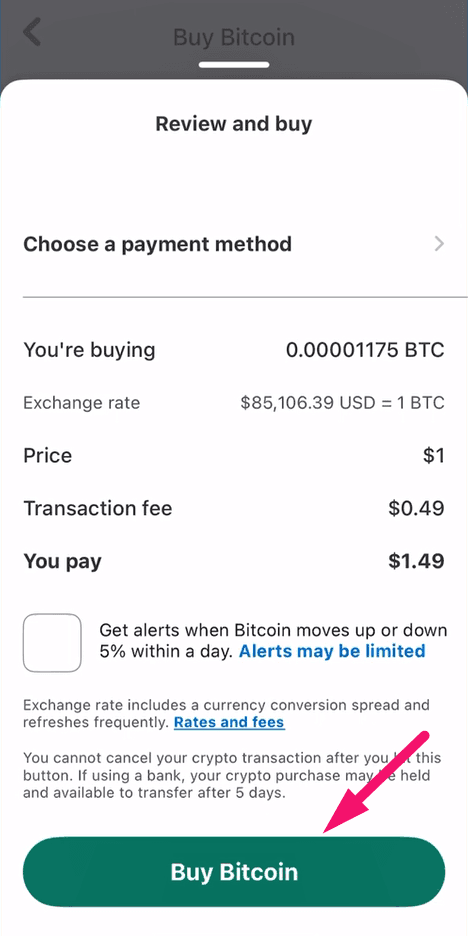
Tap “Buy Bitcoin” to finalize the transaction.
Step 9
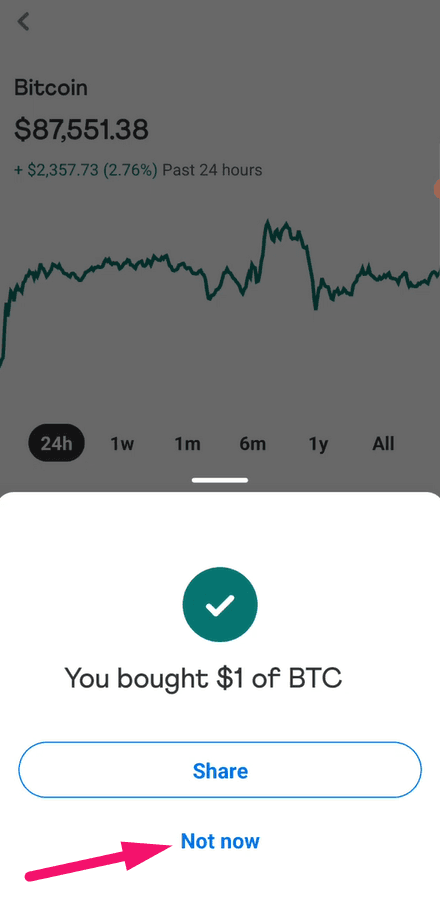
If prompted to enable recurring automated buys, select “Not now”.
Step 10
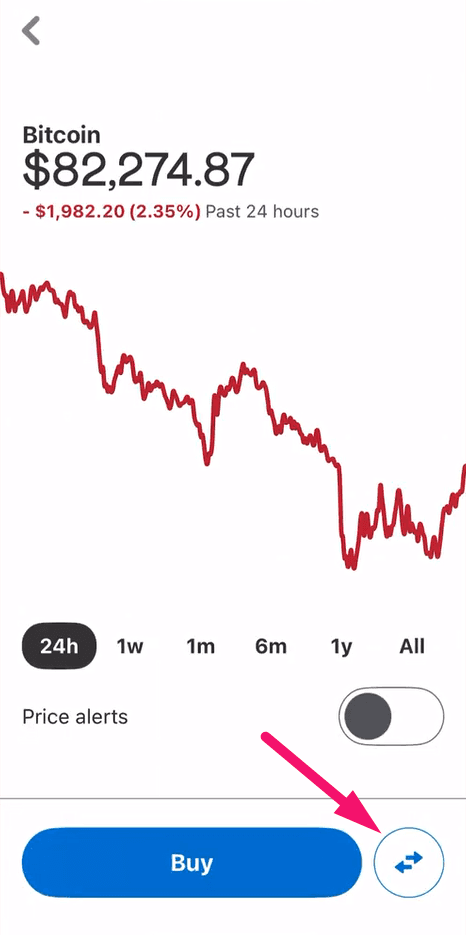
From the Bitcoin screen, tap the “Transfer” button (the double arrows icon).
Step 11
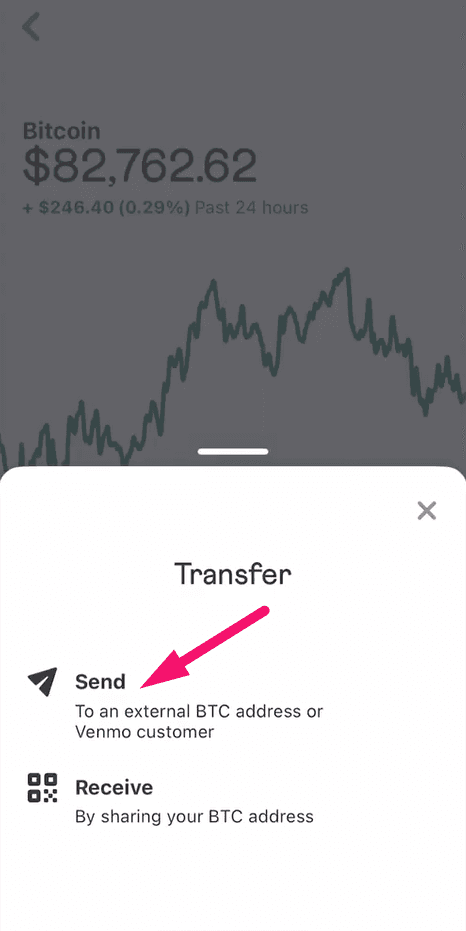
Tap “Send” to configure a transfer.
Step 12
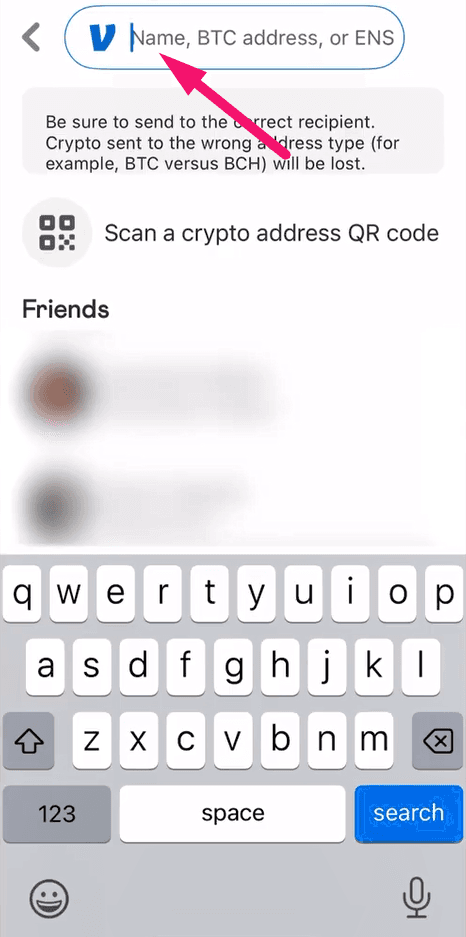
You will see a field to enter a BTC address. To get the correct address, keep Venmo running in the background and follow the next steps.
Step 13
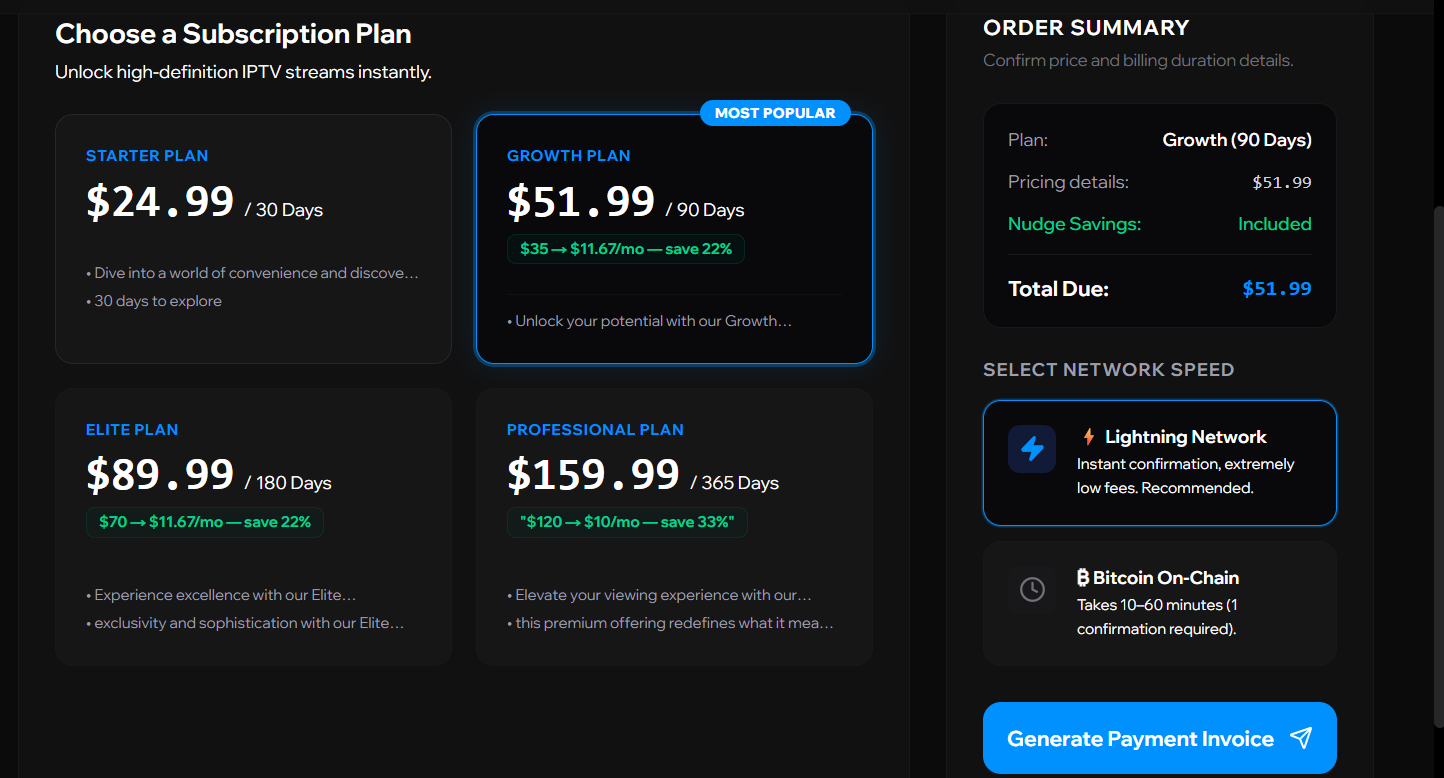
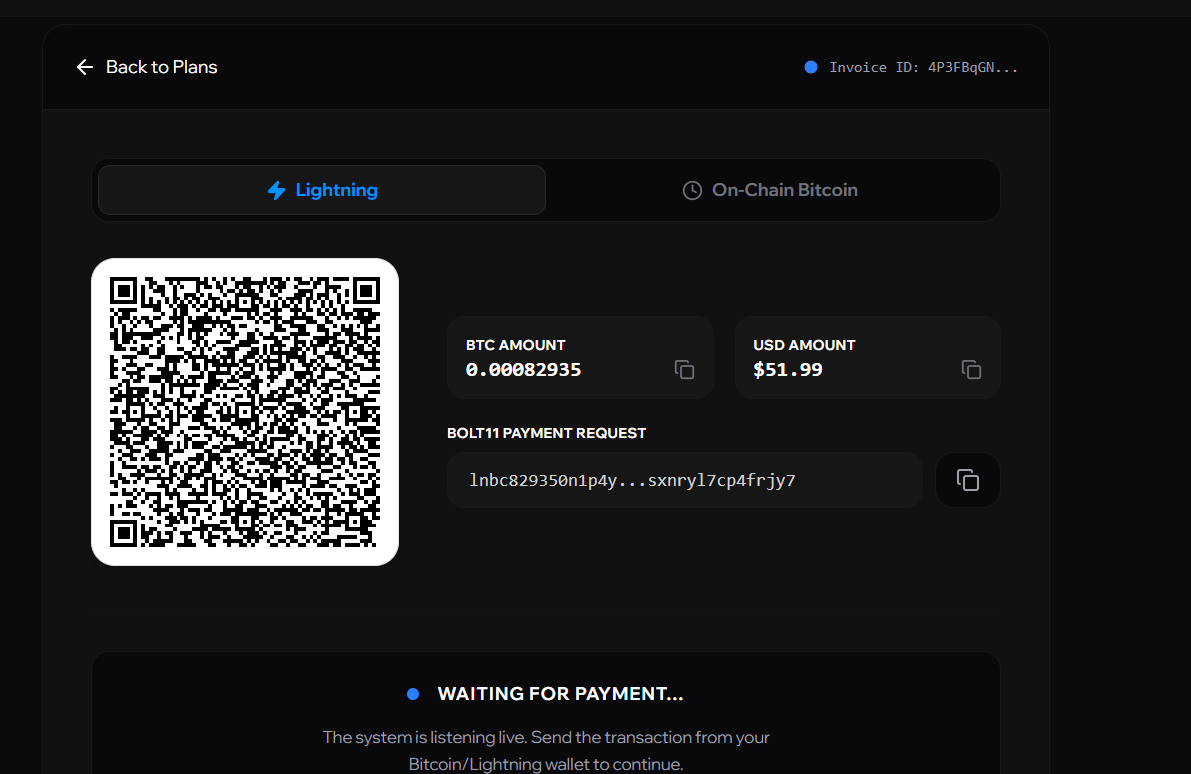
Log in to your Apollo Group TV client portal subscriptions tab, select your plan, choose network speed (Lightning is recommended for instant delivery), and click “Generate Payment Invoice”.
Step 14
An invoice will load displaying a QR code and a destination Bitcoin wallet address. Click the copy icon to copy this address.
Step 15
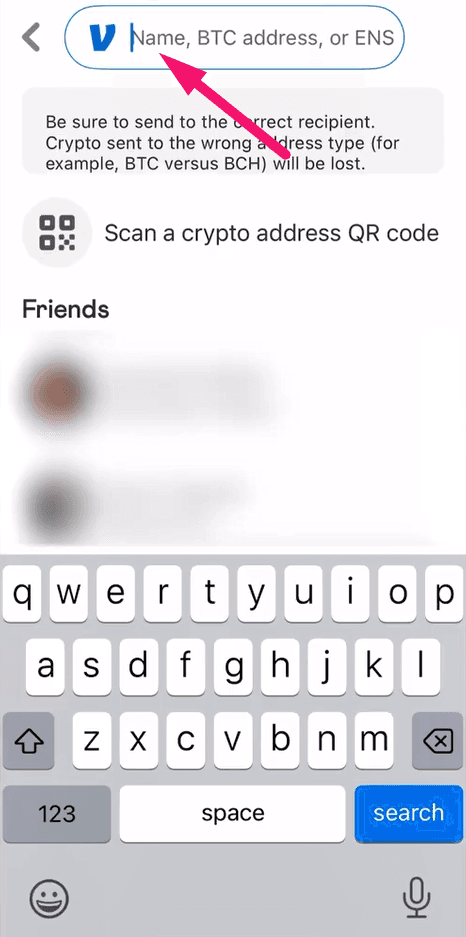
Go back to Venmo and paste the copied Bitcoin address in the recipient search field at the top.
Important NOTE: If Venmo complains of an unsupported wallet address, it usually means the invoice expired or the network type chosen did not match. Return to Apollo, click 'Back to Plans', and generate a fresh invoice starting from Step 13.
Step 16
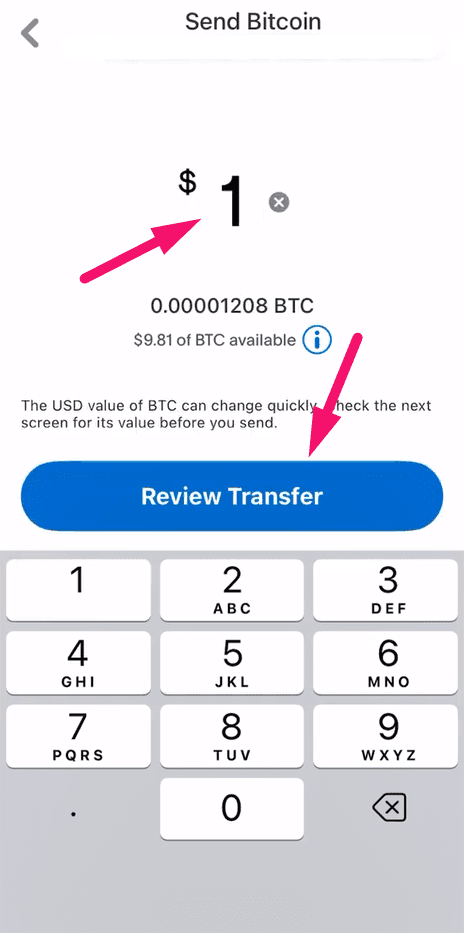
Fill in the price of the subscription of your choice and press on Review Transfer.
Step 17